Setup and install
How can we use this nuxt layer as a template and create our own app and publish it on Google Play Store? I will tell you everything you need to know, as to a child that never have writed any code in your life.
Setup
If you are a open-cource-developer, you have probably downloaded ant installed some repos from GitHub or GitLab.
This step is for they who isn't there yet, they who need someone to show them the way.
Node
It is requried to install a develper environment on the local mashine. We need the most basic envirnoment, node.1
Download and follow the instruction on the homepage to node.
CMD - VS Code
Now you are ready to open up the CMD. (Everything that happens in node happends in CMD.)
If you don't know how to use CMD,you should install Visual Studio Code. Its necessary to have when we will edit or write code and content (later in this tutorial).
- Visual Studio Code have a window that is called
Terminal. In this window we can write node-commands and see everything that happens innode. Another window showing directories and another showing content of readable files.
Download Visual Studio Code here
NB! Both node and Visual Studio Code is totally free, and the tools that are most used by programmers.
Now we are ready to go on to the install-fase:
Download & install
Start with downloading and the install it in the normal way.
Download
The easiest way is to download this package as it is. Unzip the downloaded file and copy it to a local github-folder. Then you can rename the folder to a name you want as a subdomene to vercel. Check if the name isn't busy. Read more here about it.
Install
Intro for beginners
To install you can open up the VS Code and select Open Folder in the File, and in this window you can select the folder you want to be parent (dont click select yet), rightclick and create a new folder with name GitHub - and then you select GitHub and your copy of my repo in VS Code.
Now you have the possibillity to open the terminal and do some node-commands.
First we have to install the dependencies in the package-json-file.
# npm (If you haven't installed yarn or pnpm)
npm install
Dev-server
# Test if all is working with:
npm run dev
You will see a similar picture like this, in the terminal:

When you are running this dev-command you are starting a node-server that makes it possible to use the browser to look on the website, as it was on a server out on the internet (without internet-connection).
No you can open your browser and write the following url:localhost:3000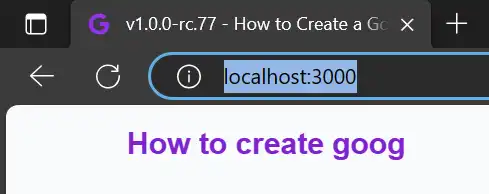
Then the website will loads.
Installing bubblewrap
There are also one another package we need to install. We don't need it before after the website is published to GitHub and Vercel.
Please install bubblewrap globally (with the -g-word), if you want to create more than this app.2
# Installing bubblewrap
npm install -g bubblewrap